

This guide explains how to install Nelx Secure Document Storage and prepare it for your first secure upload.
Before You Start #
Confirm that your site meets the system requirements: WordPress 6.0+, PHP 7.4+, and a local filesystem directory that WordPress can write to.
If your server uses Nginx or serves the uploads directory through a custom domain or alias, arrange appropriate server-side file protection before storing confidential documents. A location outside the public web root is preferred.
Install the Plugin #
- In WordPress administration, go to Plugins → Add New Plugin → Upload Plugin.
- Choose the Nelx Secure Document Storage ZIP file.
- Click Install Now and then Activate Plugin.
- Open Nelx Studio → Secure Documents Storage. On installations without the Hub menu, look for Nelx Secure Files.
You can also install the extracted plugin folder as wp-content/plugins/nelx-secure-document-storage/ and activate it from the Plugins screen.
On activation, the plugin prepares its storage directory. It does not remove secured files when deactivated.
Review the Admin Sections #
| Section | What you do there |
|---|---|
| Files | Upload files, view the authorized document table, search/filter, and review pending recovery |
| Access | Configure global and backend role permissions; inspect storage status |
| Integrations | Build styled shortcodes and configure optional JetFormBuilder integration |
| Donate | View the plugin support panel |
There is no separate Settings tab in this release. Storage information is under Access, and pending recovery is under Files.
Configure Access First #
- Open Access.
- Under Secure-file access, review Roles allowed to access all secure files. Leave this empty unless the roles genuinely need access to every unscoped secure document.
- Decide whether Hide file buttons from unauthorized users should apply to the existing integration buttons. Native shortcodes always filter unauthorized files.
- Under Backend library access, choose roles that should see all secured files or their own files only.
- Review the Storage section below these controls.
- Click Save Access at the bottom of the page. The save uses AJAX and provides success/error feedback.
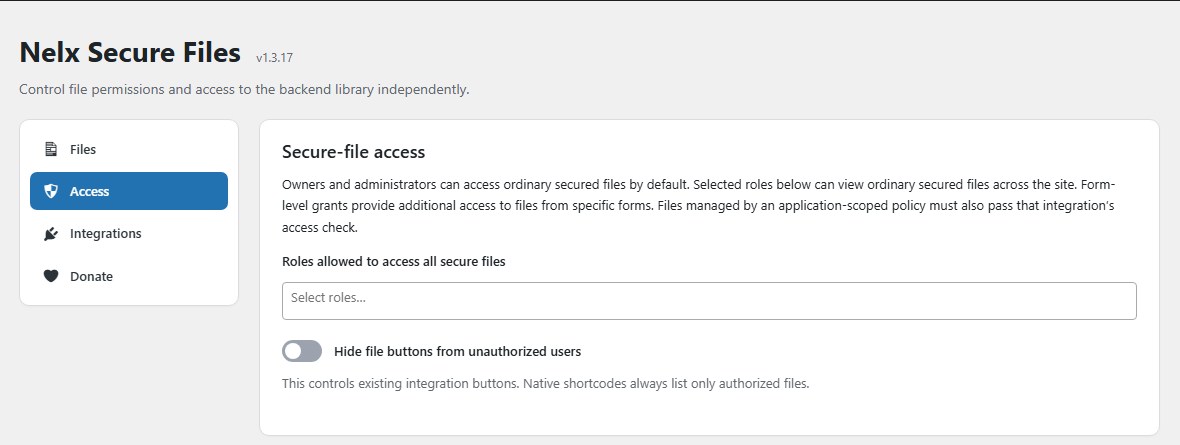
Backend access and global file access are not the same permission. See User Roles and Permission Management.
Check Storage #
Under Access → Storage, the plugin displays the active storage mode, the location used for new files, the recorded location of existing files, and whether the new-file directory is writable.
The display may identify Private filesystem storage or Protected uploads storage. These labels describe the configured filesystem location; they do not test whether your web server blocks every possible direct URL.
To choose an absolute private path, add this to wp-config.php before WordPress loads:
define( 'NELXSDST_STORAGE_PATH', '/absolute/private/nelx-secure-files' );The directory must be local, writable and outside publicly served directories. The plugin does not automatically move old files when you change the storage path. Keep the former location available for existing attachments.
Upload Your First Secure File #
- Open Files.
- Click Add Secure File.
- Drag a file into the upload area or select Browse Files.
- Watch its live progress and final Secured state.
- Find the file in the table and test View and Download while logged in as an authorized user.
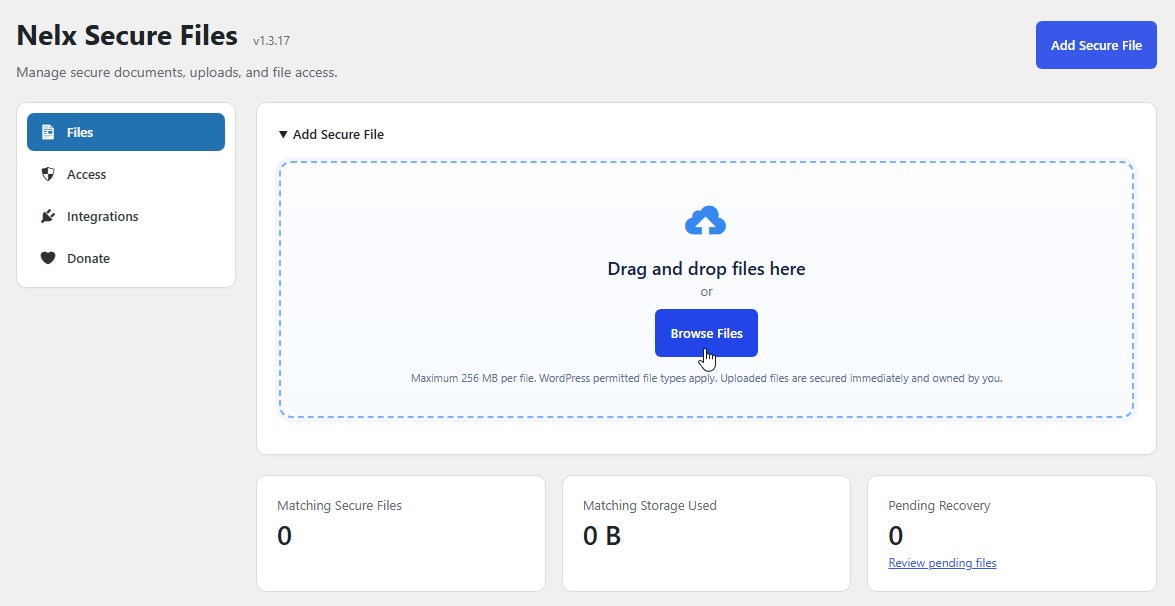
Uploads use WordPress’s file size and file-type checks. The plugin also rejects executable and active web-content extensions for native admin uploads. New files are recorded as Manual and owned by the uploading WordPress user.
Test With a Second User #
Before adding sensitive content, test with an account that should have limited access. Confirm that it sees only the appropriate backend menu and files. Also test a user without access; the protected file delivery endpoint should deny their request.
What You Do Not Need #
You do not need JetFormBuilder, JetEngine or Elementor to upload and manage documents. Install and configure those plugins only if you want the corresponding integrations.
Continue with Administrative Document Management or JetFormBuilder Secure Upload Integration.


