Prerequisites #
- JetEngine installed and activated
- A Custom Content Type (CCT) created in JetEngine
- Active JetFormBuilder
- Elementor installed and activated
Creating Your Notification CCT #
Your CCT needs specific fields to work with the notification system:
| Field Name | Field Type | Purpose |
|---|---|---|
| user_id | Text | Stores the recipient’s user ID |
| user_role | Repeater | For role-based notifications |
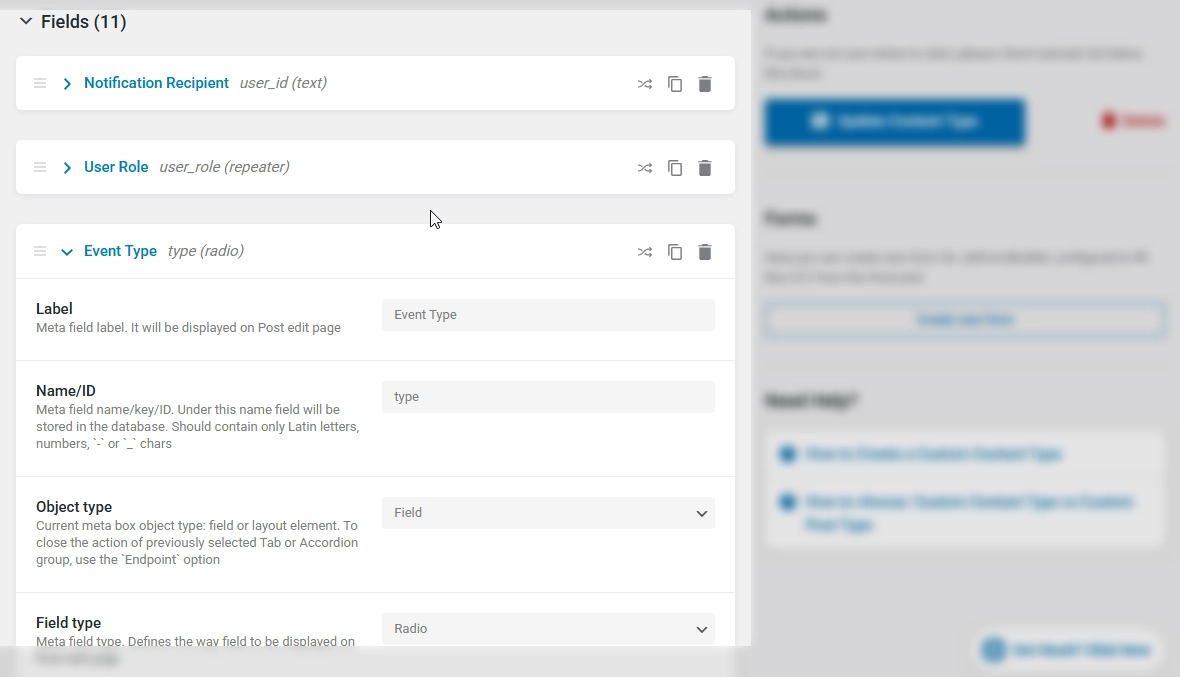
| type | Radio | The notification type |
| message | Textarea | The notification message |
| url | Text | Optional link for “See details” |
| status | Radio | Must have options: “seen” and “unseen” |
| sound_played | Radio | Must have options: “yes” and “no” |
| time | Date | When the notification was created |
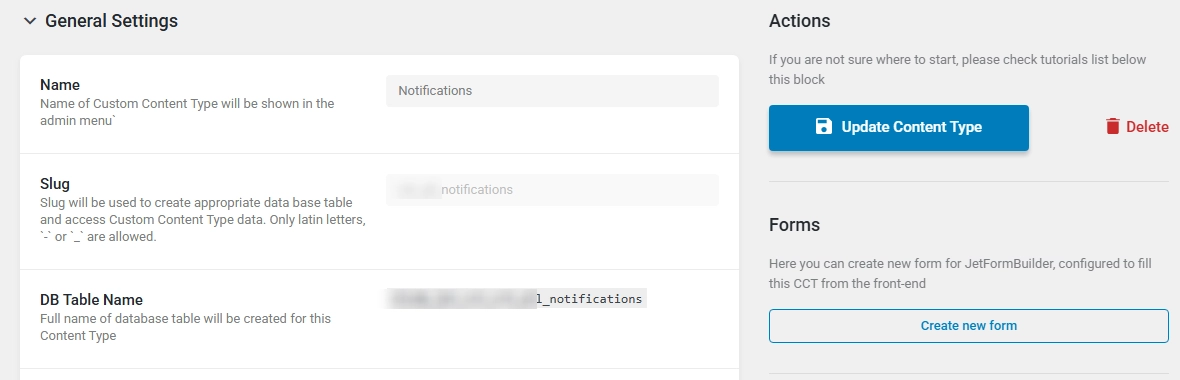
How to Create Your Notifications Custom Content Type (CCT) #
Go to JetEngine > Custom Content Types > Add New
Give your CCT a name (e.g., Notifications) and note the generated CCT Slug. No need to memorize it, you can always come back to check (it’s also available on the CCT list page).
REST API Endpoints #
Make sure to enable the following endpoints.
- Register create item REST API Endpoint
- Register update item REST API Endpoint
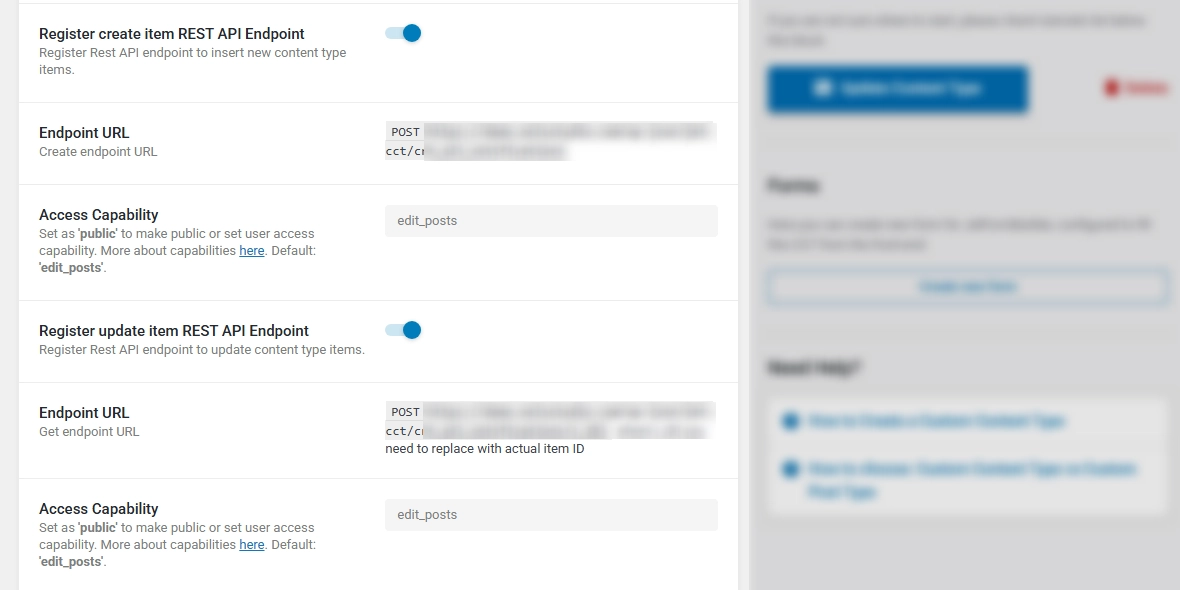
Important Note: It’s risky to set your Access Capability to ‘public’
Add Required Fields #
Add the required fields listed above in the fields sections and save your work.
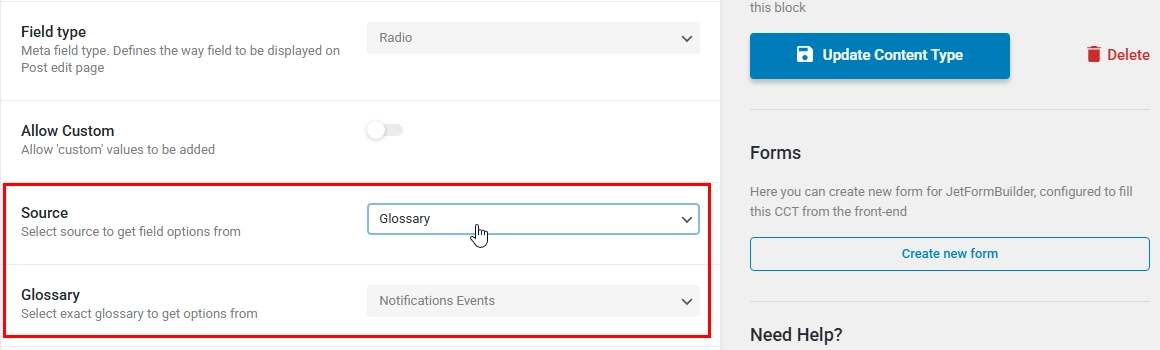
Pro Tip #
Instead of adding the event type radio field options manually, go to JetEngine Dashboard > Glossaries, and create a glossary.
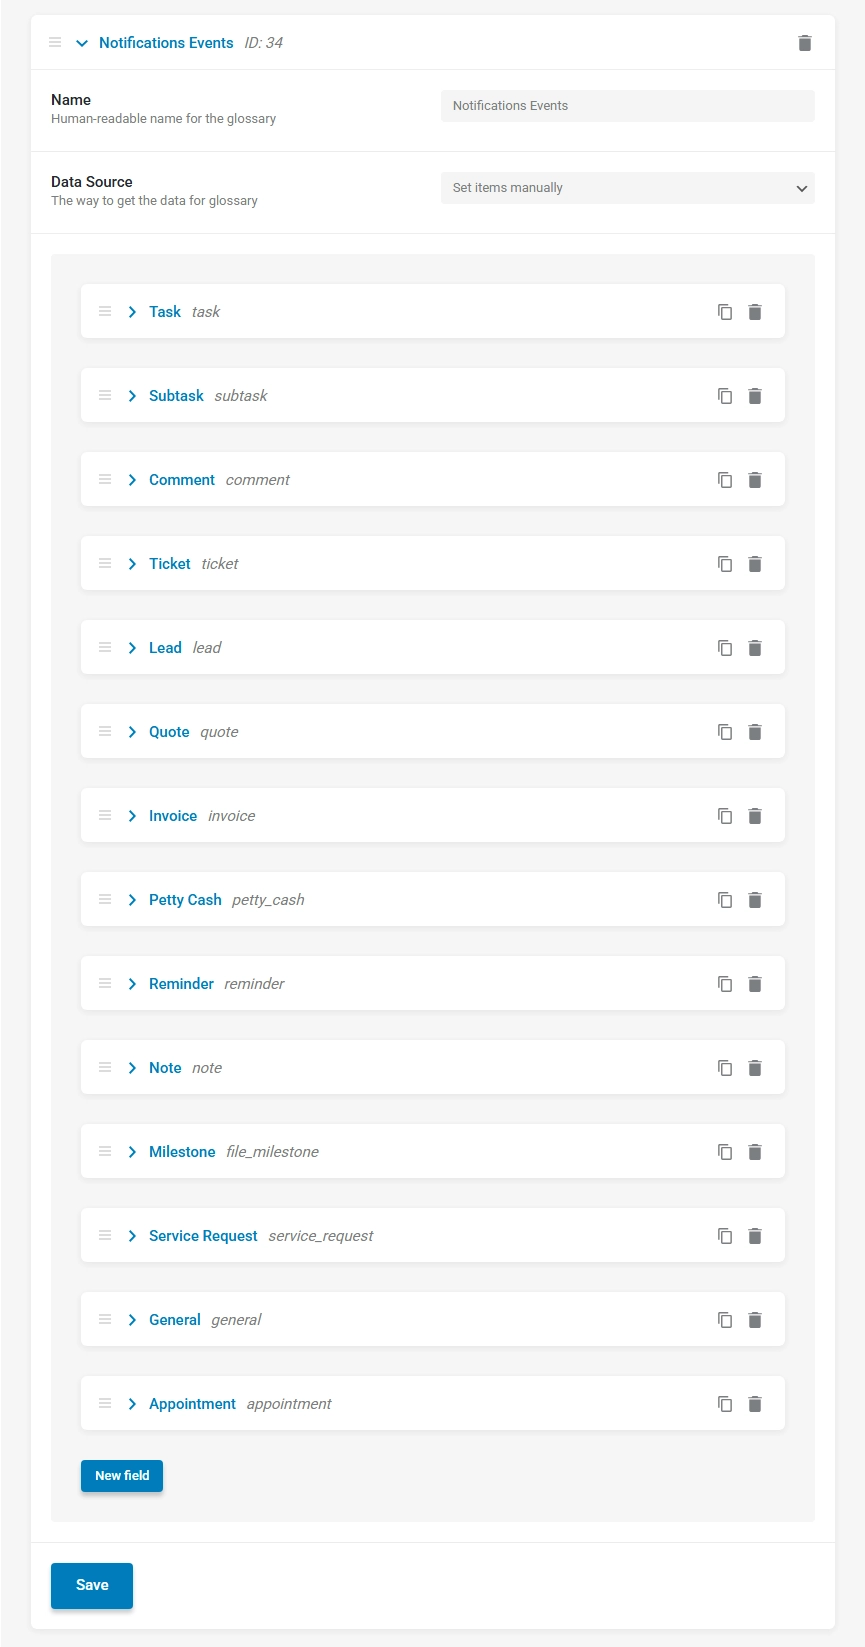
And use it in your radio field options source.